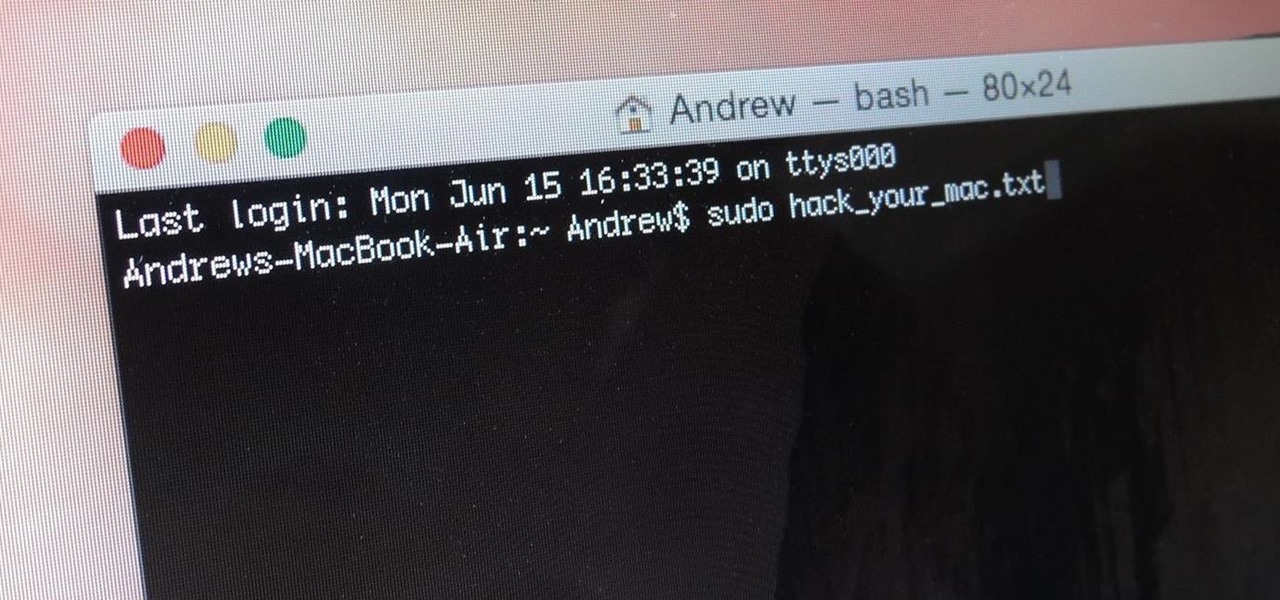

When you think of Terminal, you probably imagine some hacker sitting in front of their computer in a dimly lit room trying to break into an FBI database. In reality, it's just a simple tool that can make using your Mac much easier.
Now, I'm not saying that learning Terminal commands is easy, but using them definitely is. I've compiled a list of some basic commands that will get you started on your journey to mastering Mac OS X, whether it's Mavericks, Yosemite, or even an older system like Lion.
- Don't Miss: 6 Tweaks You Should Be Using on Your Mac Right Now
- Don't Miss: 8 Menu Bar Apps Every Mac Power User Needs
I've run all of these commands on my MacBook running Yosemite, but if you are an early El Capitan adopter, your mileage may vary due to the fact that it's an early beta still.
#1: Restart Your Mac Automatically After It Freezes
Macs may be reliable, but they have been known to freeze up on occasion. If you'd rather not deal with having to manually force a shutdown, you can use this Terminal command to make OS X instantly reboot on a freeze.
- sudo systemsetup -setrestartfreeze on
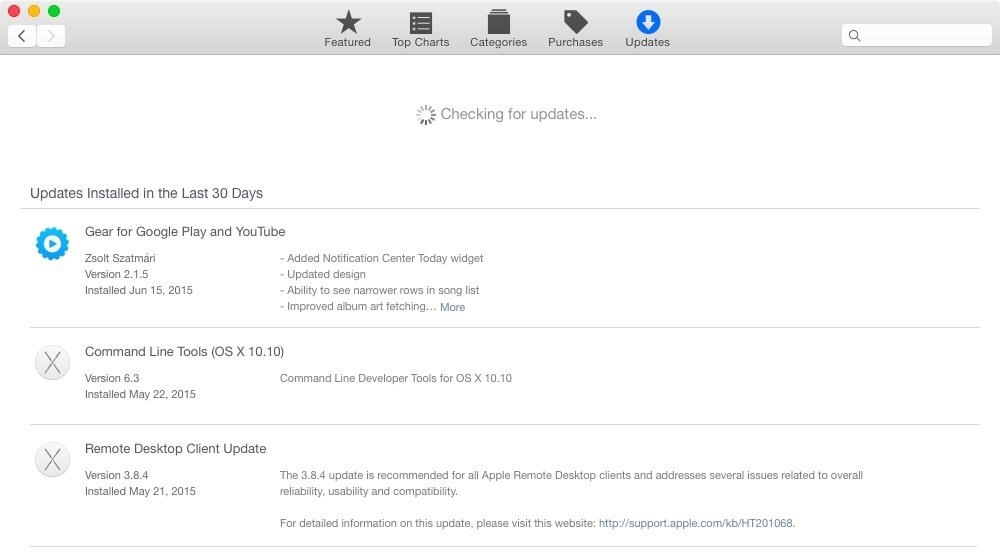
#2: Check for Software Updates Daily
By default, the Mac App Store checks for updates on a weekly basis, but if you'd rather get app updates as soon as possible, you can use this command to have it check daily.
- defaults write com.apple.SoftwareUpdate ScheduleFrequency -int 1
#3: Change Screenshot File Type
If you don't like that screenshots are saved as PNG files on your Mac, you can switch it to either BMP, GIF, JPG, PDF, or TIFF instead. Just be sure to change the "png" portion of the below command to your desired file extension.
- defaults write com.apple.screencapture type -string "png"
#4: Change Screenshot Location
Don't like screenshots cluttering up your desktop? You can change the save location using the following command. Just swap out the "/folderlocation" part with the full location of the folder you want. More details here.
- defaults write com.apple.screencapture location /folderlocation
Note: see the end of this guide for instructions on using folder locations with spaces in their name.
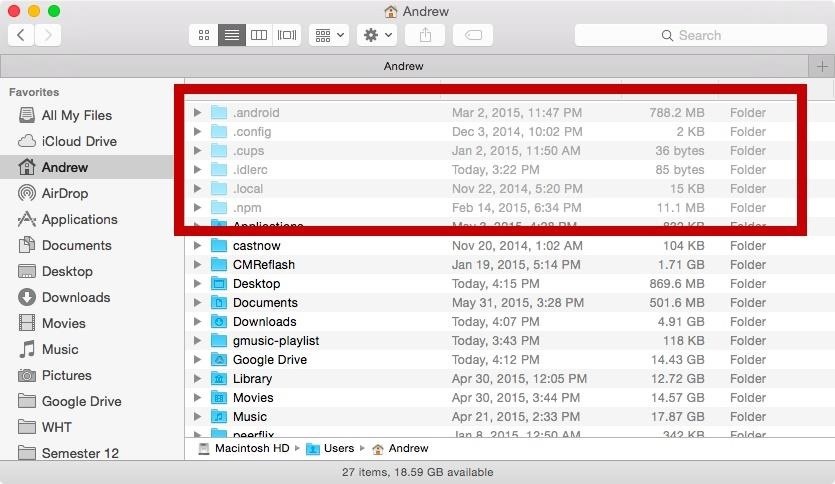
#5: Show All Hidden Files & Folders
Unlike in Windows, there is no option to view hidden files and folders in Mac OS X, unless you know the exact location. But by using this Terminal command, you can make them all visible. To hide them again, change "true" to "false."
- defaults write com.apple.finder AppleShowAllFiles -bool true
To see the changes appear immediately, make sure to hold "Alt" on your keyboard, right-click on Finder in your Dock, then click on "Relaunch."
#6: Hide or Unhide Files & Folders Individually
If you don't want to see every hidden file and folder on your Mac, you can unhide them one by one instead. As an example, the Library folder is the biggest one that most people want to unhide, so let's do that. (Note that ~ is a shortcut for your main username directory.)
- chflags nohidden ~/Library/
Now let's try it with a file. The following one will hide the Secrets folder in my Documents.
- chflags hidden ~/Documents/Secrets
Note: see the end of this guide for instructions on using file and folder locations with spaces in their name.
#7: Automatically Open a Finder Window When a Drive Is Mounted
To make it so that Finder automatically loads a new window any time a flash drive (or any other type of volume) is mounted, use these next commands:
- defaults write com.apple.frameworks.diskimages auto-open-ro-root -bool true
- defaults write com.apple.frameworks.diskimages auto-open-rw-root -bool true
- defaults write com.apple.finder OpenWindowForNewRemovableDisk -bool true
Just change them back to "false" if you want to revert back.
#8: Disable the Warning When Emptying the Trash
If you like to live life on the edge and not worry about accidentally deleting a file that you actually put in the Trash, you can use the command below to disable that pop-up warning.
- defaults write com.apple.finder WarnOnEmptyTrash -bool false
#9: Securely Delete Files Individually
If you want to securely erase files from your Mac, but don't want to make "Secure Empty Trash" the default, you can securely shred files one by one in Terminal. The following command uses one-pass overwriting before trashing. (Substitute "/draggedfile" by dragging the file you want over.)
- srm -s /draggedfile
And this one uses seven passes:
- srm -m /draggedfile
If it's a folder you want to get rid of, use -rf after the srm part.
- srm -rf /draggedfolder
Click here to see more options for securely erasing files/folders.
#10: Add Send Shortcut to the OS X Mail App
The Mail app does not come with a hotkey to send an email since the Enter key is only set to insert a line break. But by using the following command, you'll create a new keyboard shortcut (Command + Enter) for sending mail.
- defaults write com.apple.mail NSUserKeyEquivalents -dict-add "Send" -string "@\\U21a9?
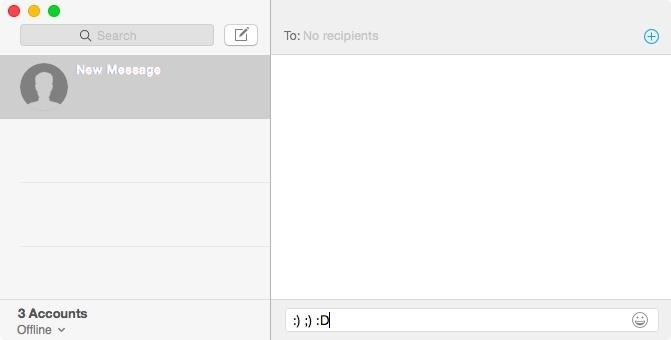
#11: Disable Automatic Emoji Substitution
For those of you who like to live in the '90's state of mind, you can make it so that emoji no longer replaces traditional emoticons with this.
- defaults write com.apple.messageshelper.MessageController SOInputLineSettings -dict-add "automaticEmojiSubstitutionEnablediMessage" -bool false
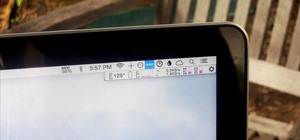
#12: Add Extra Information to Login Window
The login window doesn't reveal much information about your device, but if you'd like it to show some extra info, like your IP address and OS version, use this next command. The information appears when you click on the menu bar's clock and is displayed one at a time.
- sudo defaults write /Library/Preferences/com.apple.loginwindow AdminHostInfo HostName
#13: Make Terminal Talk to You
This last Terminal command makes it so you have you own personal robot voice generator. All you have to do is enter "say" and add text inside quotes.

Note for Folder/File Names with Spaces in Them
For some of the tips above, like hiding specific folders or changing the screenshot save location, the location's name might have a space in it. Using just a space in Terminal won't work. Instead, add a \ after each word except the last, while keeping the spaces. For example:
- top secret picture.jpg
Would be:
- top\ secret\ picture.jpg
What Are Your Favorite Terminal Commands?
Have any other must-know Terminal commands that didn't make the list? Share them with us in the comment section below.
Follow Apple Hacks over on Facebook and Twitter, or Gadget Hacks over on Facebook, Google+, and Twitter, for more Apple tips.
Just updated your iPhone? You'll find new emoji, enhanced security, podcast transcripts, Apple Cash virtual numbers, and other useful features. There are even new additions hidden within Safari. Find out what's new and changed on your iPhone with the iOS 17.4 update.


6 Comments
#8 is a checkbox in Finder Preferences
For a GUI way to do this, check out free utility OnyX by Titanium Software.
For more (all?) command line goodies:
https://github.com/mathiasbynens/dotfiles/blob/master/.osx
#3 changing screenshots to PDF instead of PNG....AWESOME!!!!!!!!!!!! What a great time saver!!! THANKS!!!!!!
Or just learn Linux. Same thing same outcome.
Yeah, except this is for people who are using OS X, not Linux. If they wanted to learn Linux, they would install a Linux OS. Same outcome maybe, but not the same mindset.
HELP I tried #11, and now my Messaging app will not open. How do I undo the command? Or how do I get the app to open again? I tried switching the false to a true, and it did not help.
Do you get an error or does the app force close?
Share Your Thoughts