

As this generation continues to evolve, we become more involved with social media. For example, you may have a Facebook, Twitter, and a Google+ account, and be heavily involved in using all three, but the constant switching between sites, logins, and conversations can get very tedious.
Luckily, there's a way to put all of these accounts into one beautiful, fluid interface that keeps you aware of what's going on in all of your new feeds, while providing some exciting new tools to make the social media experience even better.
Behold, Hootsuite. This program started a while back, but had some competition with another company called Seesmic that they later bought out. Since then, Hootsuite has changed quite a bit. Most changes were for the better, but they also ditched their desktop applications and stuck with a mobile and web-only interface. Today, we are going to change that.
Setting Up Hootsuite
Before we begin, know that Hootsuite offers three plans.
- Free - Allows up to three social media accounts
- Pro - Allows up to 100
- Enterprise - For business or government agencies
Three social media accounts is more than enough for me, but if you're a heavy user on a large amount of websites, $9 a month could help you manage up to 100.
Now that we understand the plans, let's move on.
Step 1: Sign Up for Hootsuite
Go to Hootsuite's website and sign up for an account. The process only requires that you sign in with one of your social media accounts. If you're signing in with an account not on that list (Twitter, Facebook, Google+), click the option right below the three buttons to "create a new account."

Step 2: Customize Your Hootsuite
Once signed in, you can continue to add accounts as you please. I would highly advise that you take the virtual tour to understand the complexity of this program. It's simple once you know it, but you can get lost if you don't. The tour will teach you how you can begin customizing your Streams.

Clicking on buttons such as Wall Posts will add them to your stream. Then you can create tabs and customize each stream with difference accounts or different information.
You can also schedule posts to be made on a certain date and time, which is a great way to queue multiple items, like linking out to blog posts.
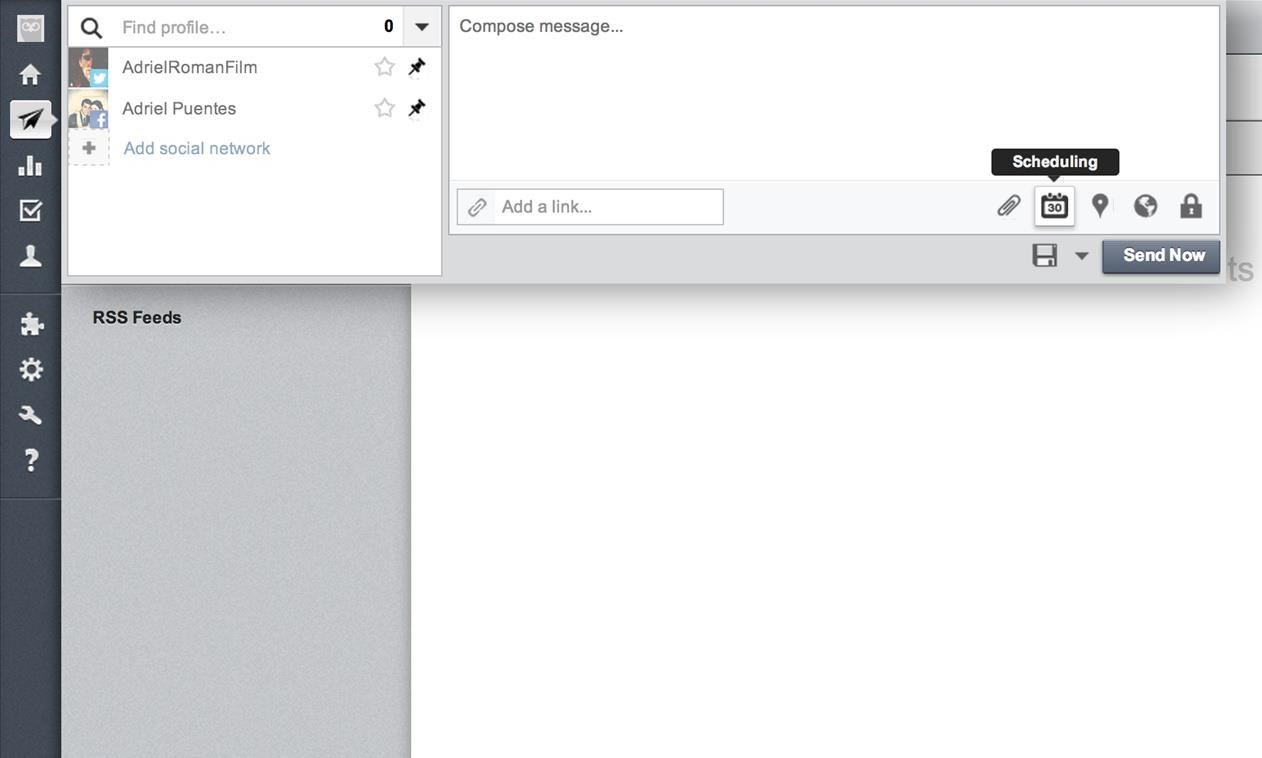
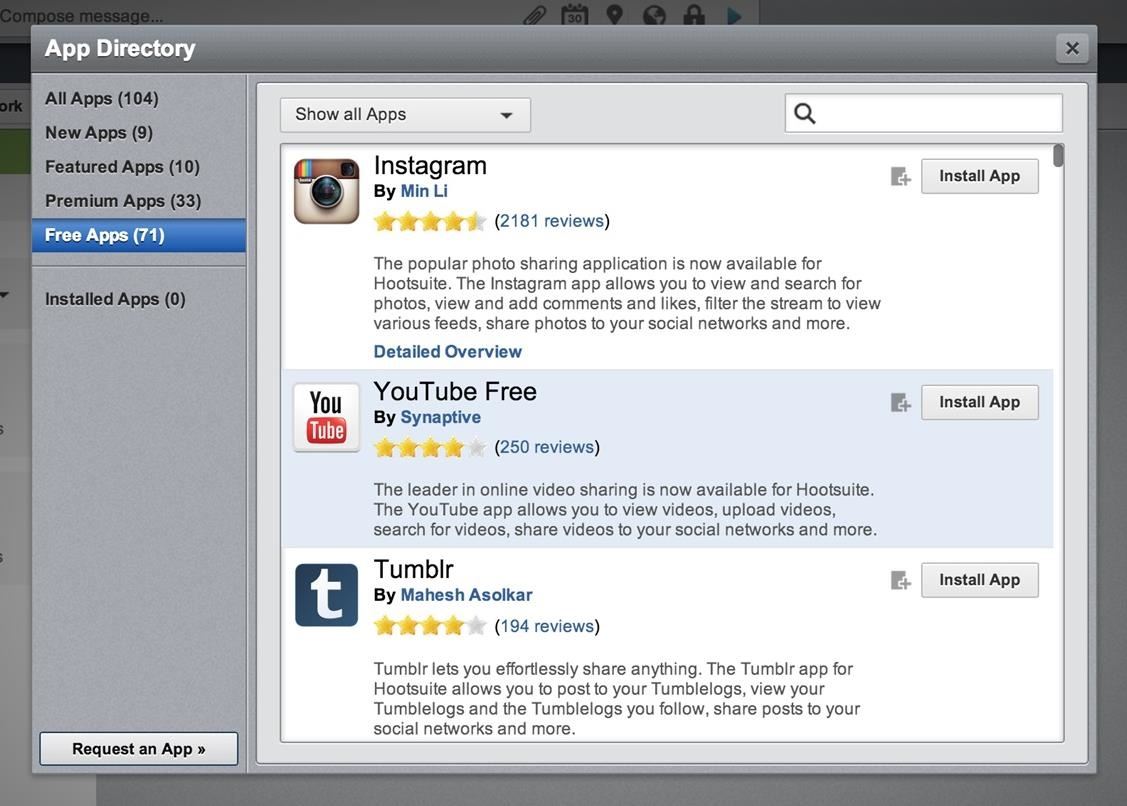
Or, add extensions for more social media networks by clicking on App Directory.
For more help on the features included with Hootsuite (which some of you might need if you skipped over the virtual tour), check out Hootsuite's help page.
Step 3: Install Fluid
Fluid is an application that allows you to make real Mac apps using a webpage. You won't have to go back to Hootsuite.com and sign in using a web browser, since we are going to make the website into an application we can run off of our desktop.
You can download Fluid here (click the "Free Download" button).
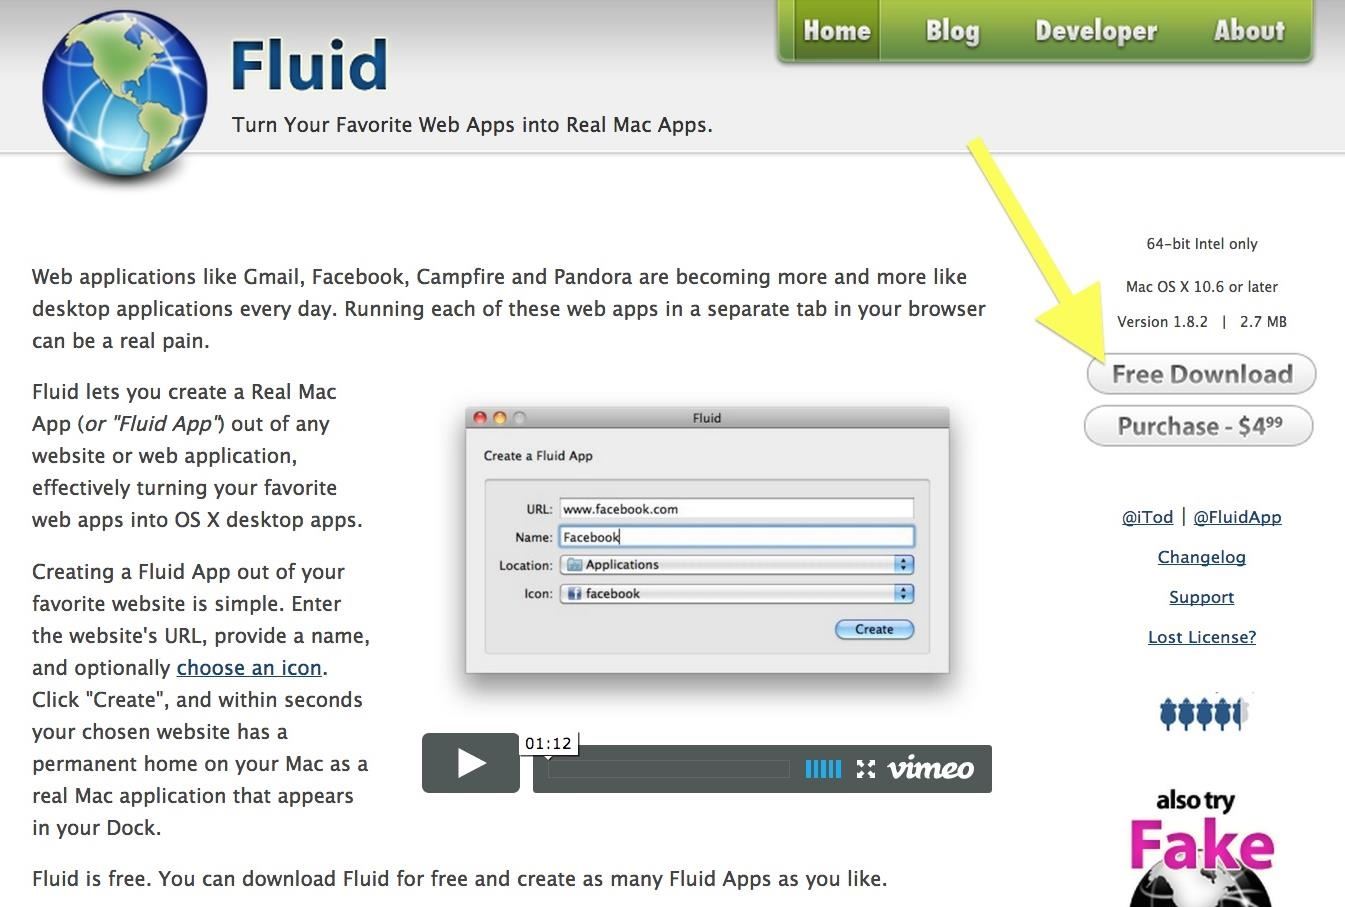
Once downloaded, unzip the file, move to your Applications folder, and open it up.
Step 4: Set Up Your Hootsuite Mac App
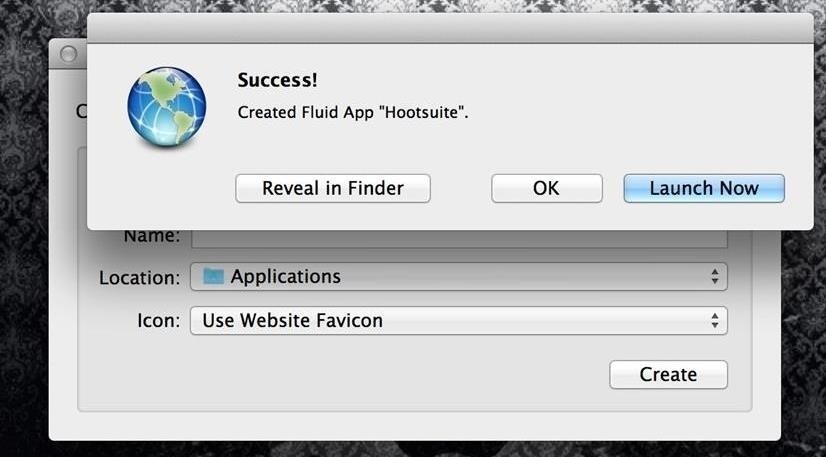
When Fluid opens, insert "Hootsuite" into the Name field, make sure your "Applications" folder is selected for the Location, and for the Icon, just "Use Website Favicon." Lastly, make sure "https://hootsuite.com/dashboard" is in the URL field.
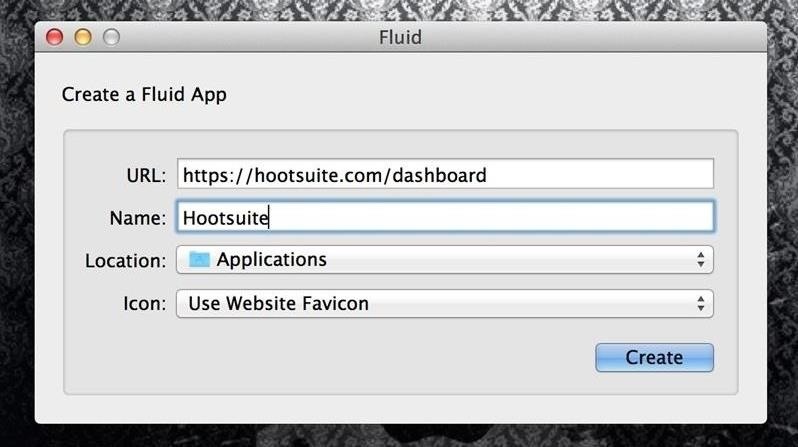
After you hit the Create button, hit Launch Now to open it right up.
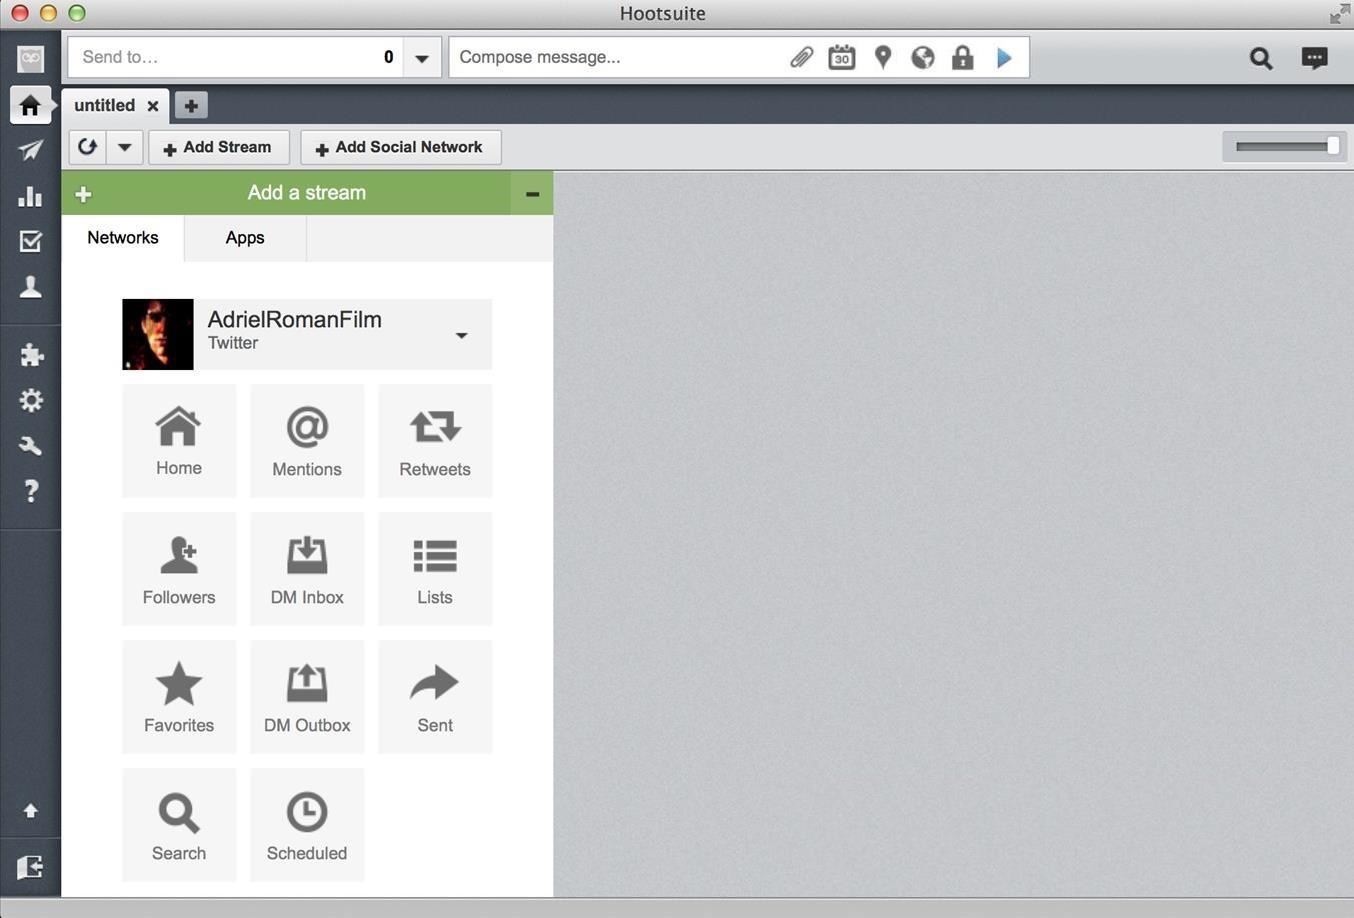
Now, Hootsuite is a fully functional Mac OS X app that you can launch without the need of a web browser!
Social Media Just Got Easier
All of your accounts are now connected to one sleek, convenient Mac application. The benefits to this are too long to list, and it makes the transition through social media's constant growth a lot easier.
Just updated your iPhone? You'll find new emoji, enhanced security, podcast transcripts, Apple Cash virtual numbers, and other useful features. There are even new additions hidden within Safari. Find out what's new and changed on your iPhone with the iOS 17.4 update.


1 Comment
I have just setup on my MBA, it just works fine. Thanks for the steps.
Share Your Thoughts