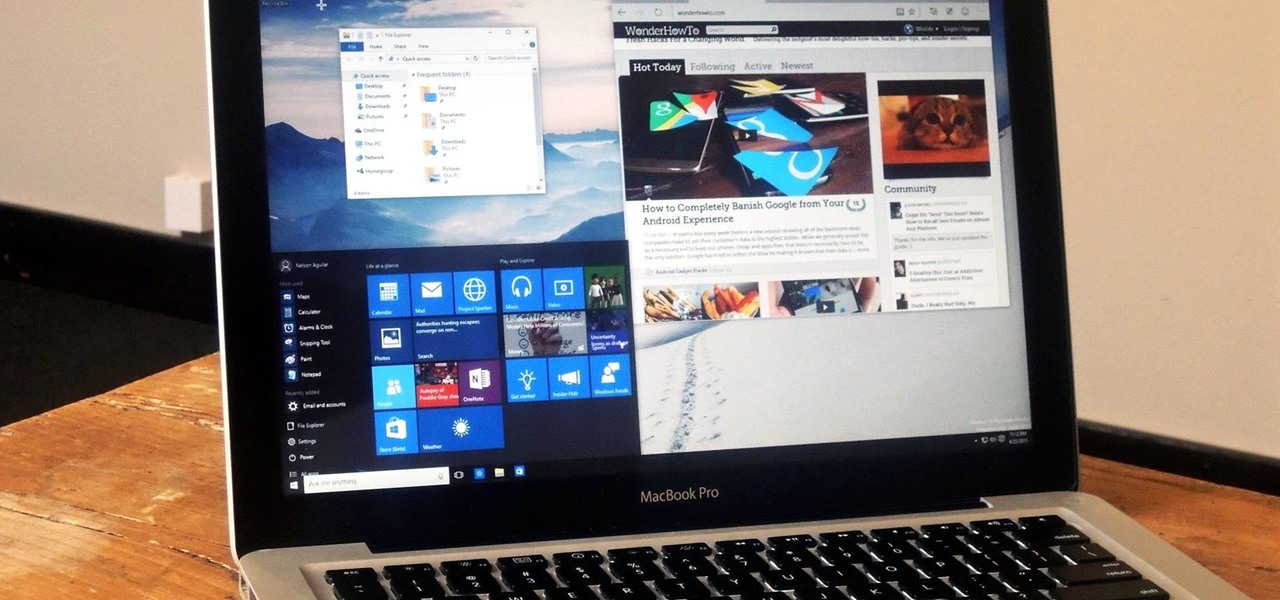

While Windows 10 is still a few weeks away from a public release, that doesn't mean you can't enjoy its brand new features right now. Anyone with an Insider Preview account can install Windows 10 on their computer. And that doesn't just go for those that own a Windows PC—Mac users can get their hands on Windows 10 as well.
- Don't Miss: How to Dual Boot Mac OS X El Capitan & Yosemite
Mac OS X has a native way to run Windows on your computer with a tool called Boot Camp Assistant. In this guide, I'll show you how to get a hold of the ISO file you'll need, create a USB installation drive, set up a partition, and run Windows 10 alongside OS X on your Mac.
General Requirements
Apple has a list of general requirements that are necessary in order to successfully install and run Windows on your Mac:
- Internet connection
- Admin account in OS X to use Boot Camp Assistant
- Minimum of 2 GB of RAM
- A blank 16 GB or larger USB flash drive
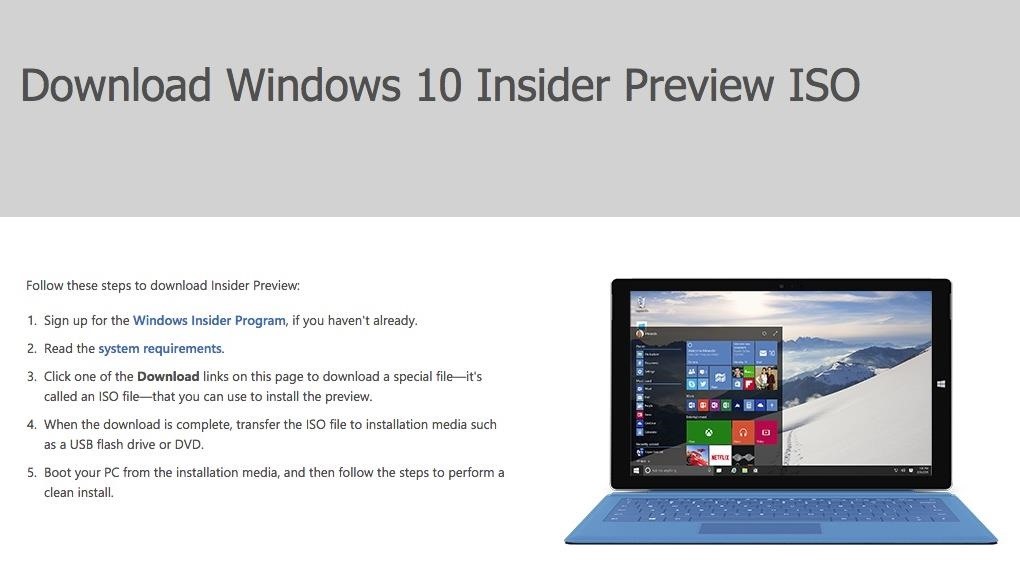
Step 1: Download Windows 10 ISO File
If all of the above requirements are met, start off by going to the Windows 10 Insider Preview ISO downloads page and sign up for the Windows Insider Program.
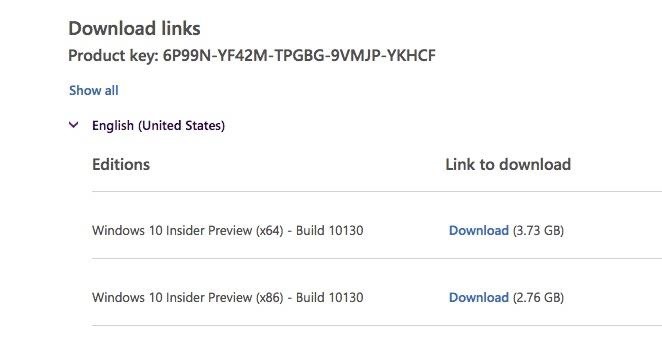
Once signed in, scroll down, select your language, then download one of the two Windows 10 Insider Preview ISO files available: either x64 for a 64-bit OS or x86 for a 32-bit OS. While a 64-bit system can install either version, I'd recommend downloading the x64 version, as it has more usable RAM than x86.
Now place the ISO file somewhere easy to find.

Step 2: Create Windows 10 Installer
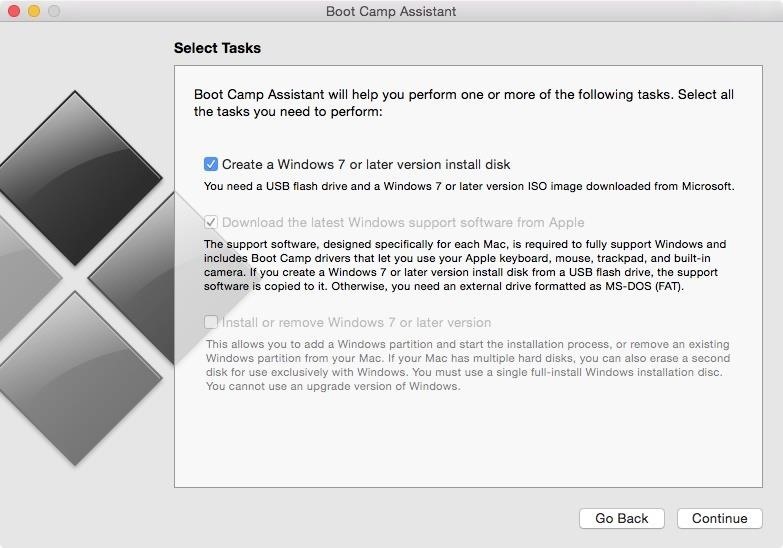
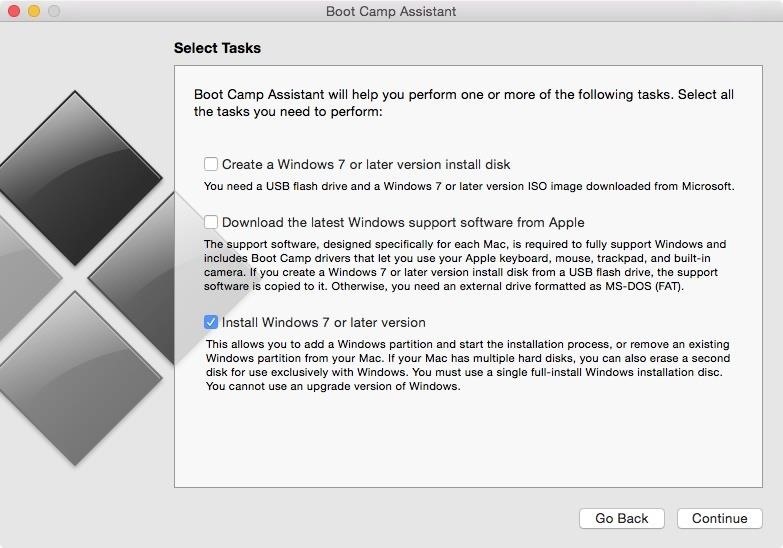
Connect your 16 GB+ USB flash drive to your Mac and open up Boot Camp Assistant. When selecting your task, check the box next to "Create a Windows 7 or later version install disk," as well as "Download the latest Windows support software for Apple."
Do not check the box next to "Install or remove Windows 7 or later version" yet, as we'll be using this option later on in the tutorial. Click on "Continue."
Find the Windows 10 Insider Preview ISO file that you downloaded, choose the USB flash drive as the destination disk, and hit "Continue."
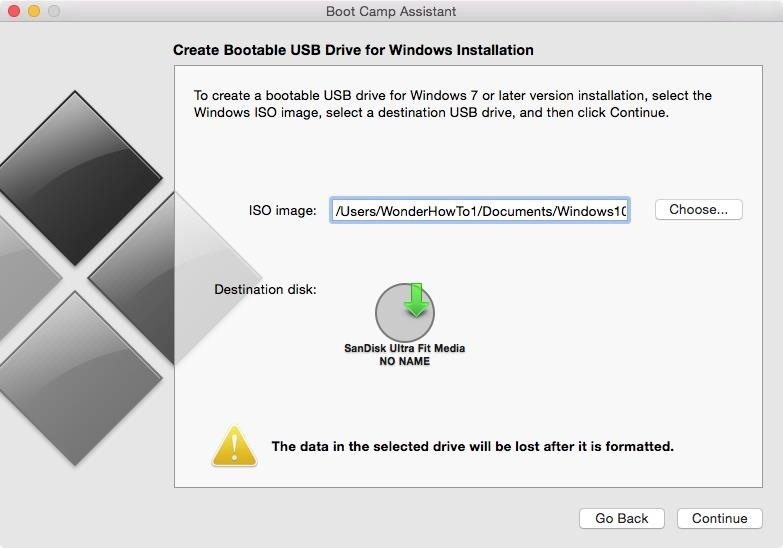
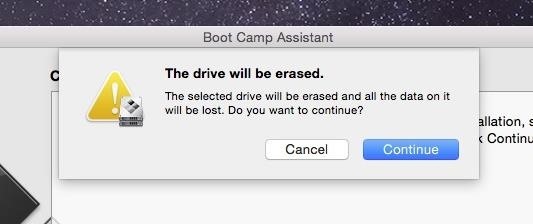
Boot Camp will then ask to confirm that you want to continue, since your flash drive will be formatted to FAT and everything on it will be deleted.
After a few seconds, the Windows files and support software will begin copying to your flash drive, which will be renamed "WININSTALL."
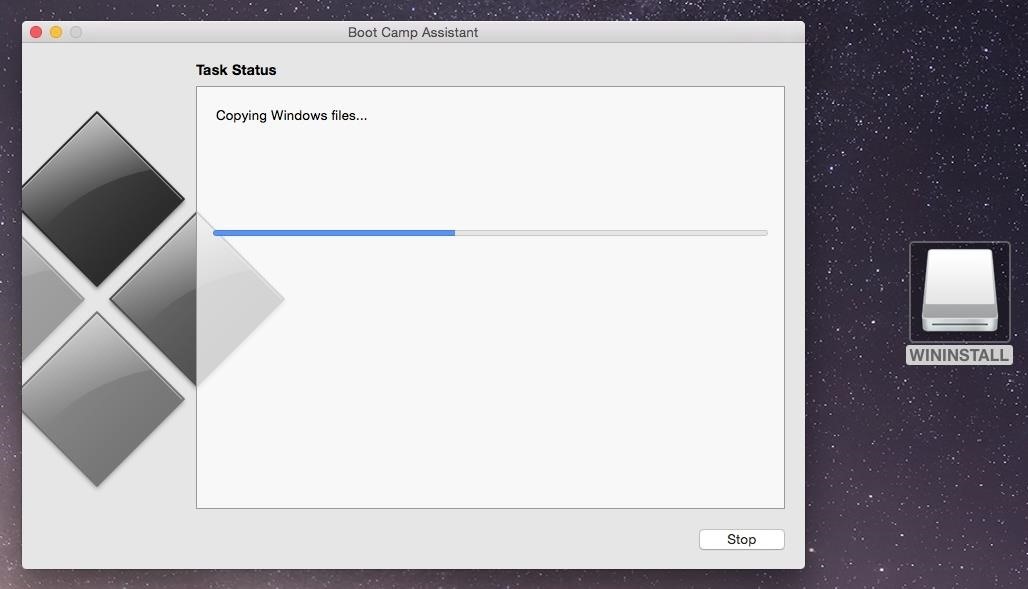
When the process is finished (it should take less than 10 minutes), open your flash drive to check that the files have been copied over. It should look something like what's in the screenshot below.
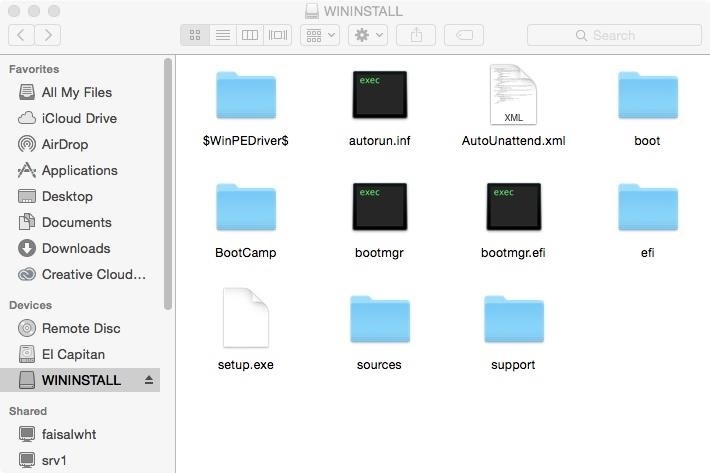
You've now got a Windows 10 installer that you can use to install the OS on any Mac computer.
Step 3: Create a Partition
Now that you're finished with the Windows 10 installer, it's time to create a separate partition on your hard drive to run Windows 10 on. Luckily, you can easily create this partition using Boot Camp Assistant as well.
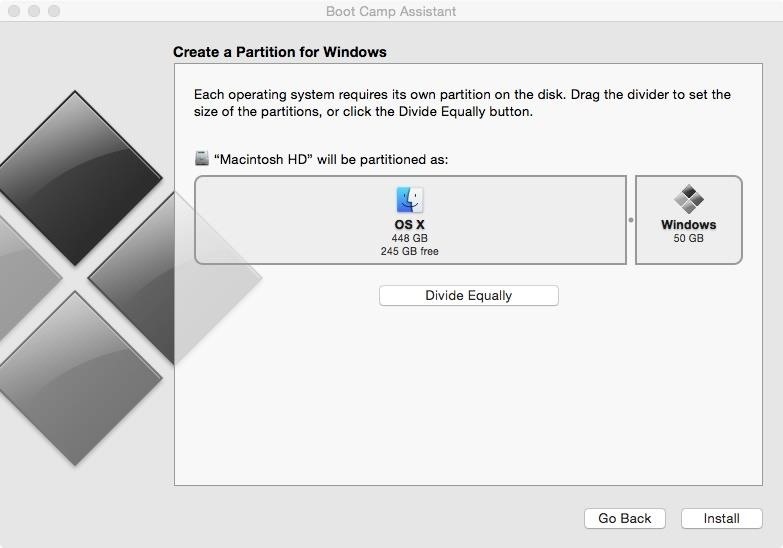
This time, instead of checking the top two boxes when selecting tasks, just check the box next to "Install Windows 7 or later version" and hit "Continue."
On the next window, you'll be asked to select the size of the partition for Windows. While you can choose any size, Apple recommends anything above 30 GB if you're installing Windows for the first time, or 40 GB if you're updating Windows. I'll be selecting 50 GB just to be safe. Once you're ready to create the partition, click on "Install."
After the partition is created, your computer will automatically restart.
Step 4: Set Up Windows 10 on Your Partition
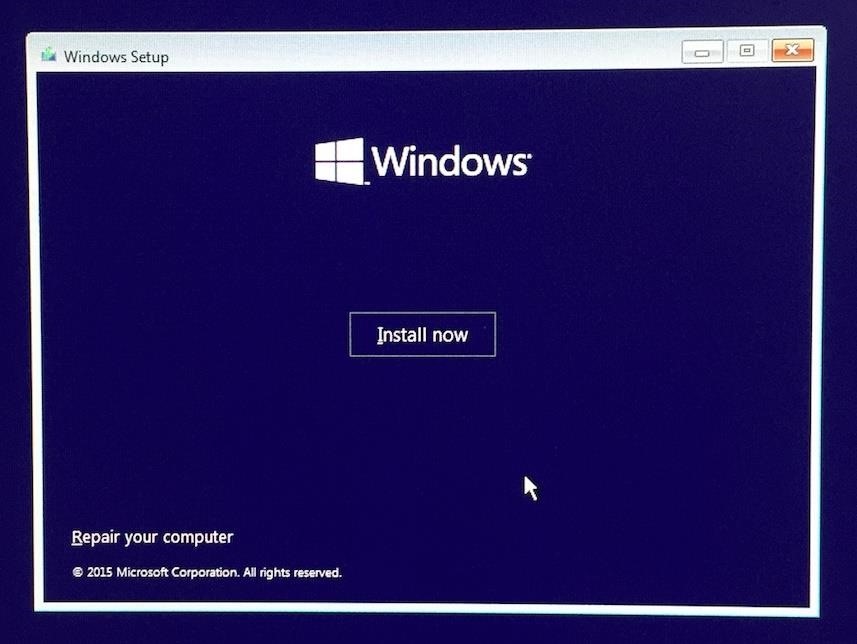
Once your Mac boots up, your screen will show a Windows logo; just wait a few minutes while it loads. Select the language in which you want to install Windows 10, click "Next," and finally click on "Install now."
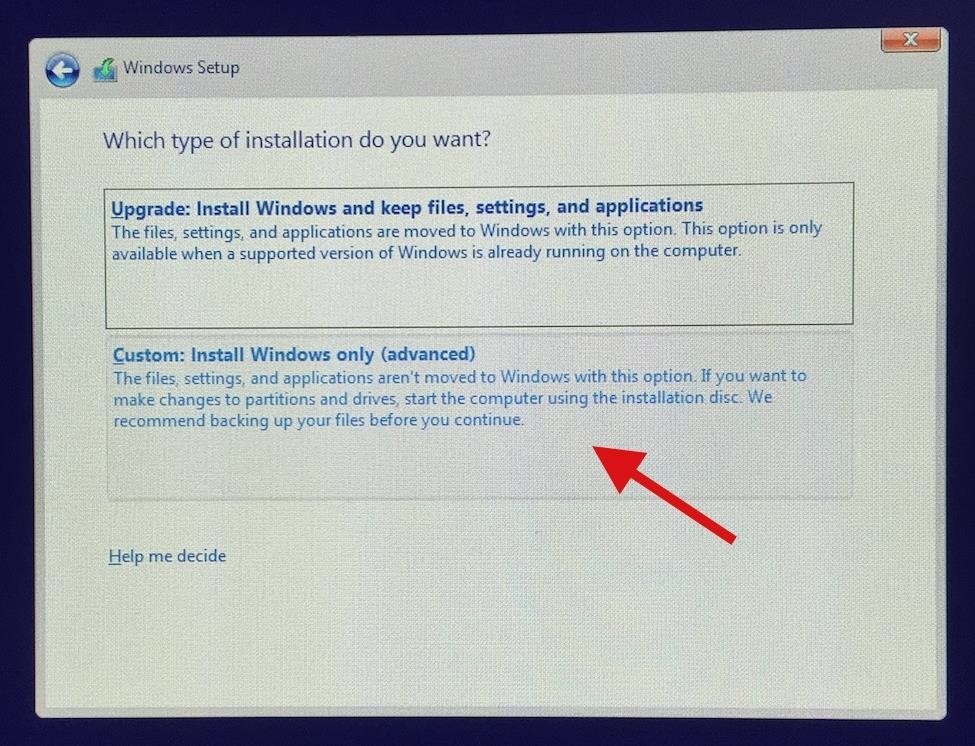
On the Windows Setup page, select "Custom: Install Windows only (advanced)" from the two options available.
Now select the partition you created earlier, which will have the word "BOOTCAMP" appended to it, and click on "Format" which will allow Windows 10 to run, then hit "Next."

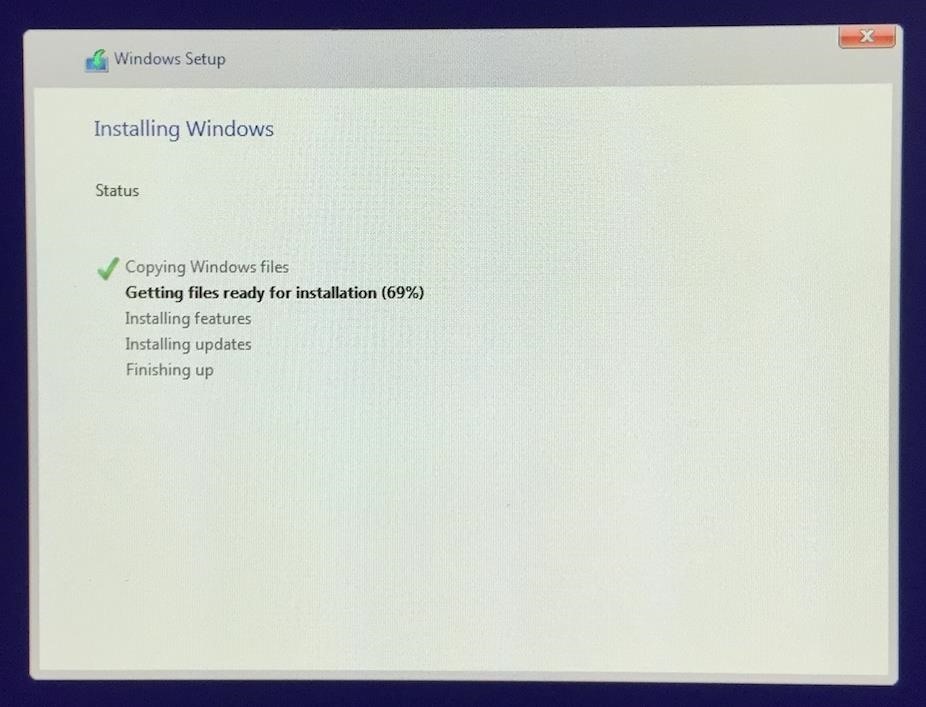
Windows 10 will then begin to copy files and install features and updates to said partition.
Step 5: Sign in & Use Windows 10 on Your Mac
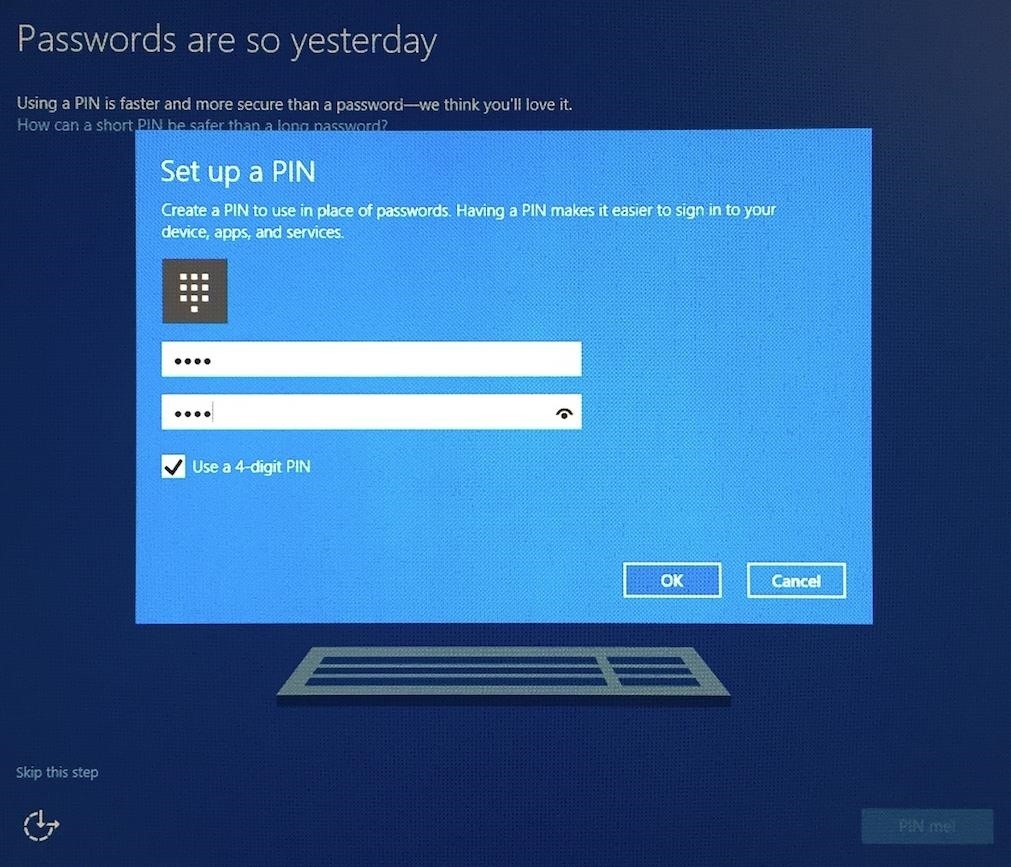
After Windows 10 installs, you'll be asked to select your settings, sign in to your Microsoft account, set up a PIN, and more, just like you would if you were setting up a Windows computer.
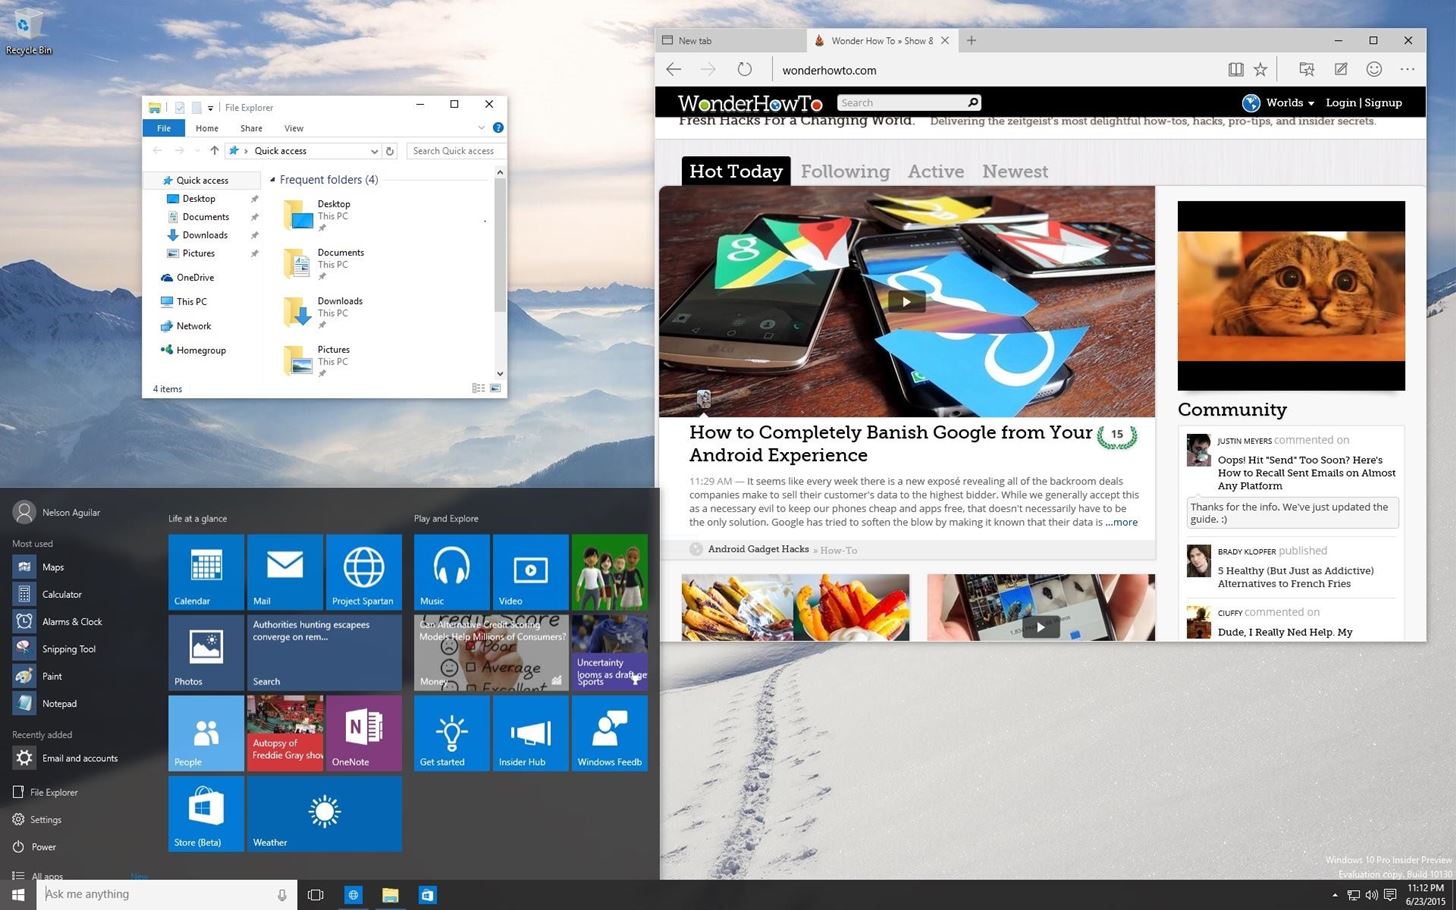
When you're finished setting it up, you'll be able to use Windows 10 and take advantage of all the new features, including the redesigned Start Menu, the voice-assistant Cortana, and Microsoft's brand new Edge web browser.
Step 6: Switching Between OS X & Windows
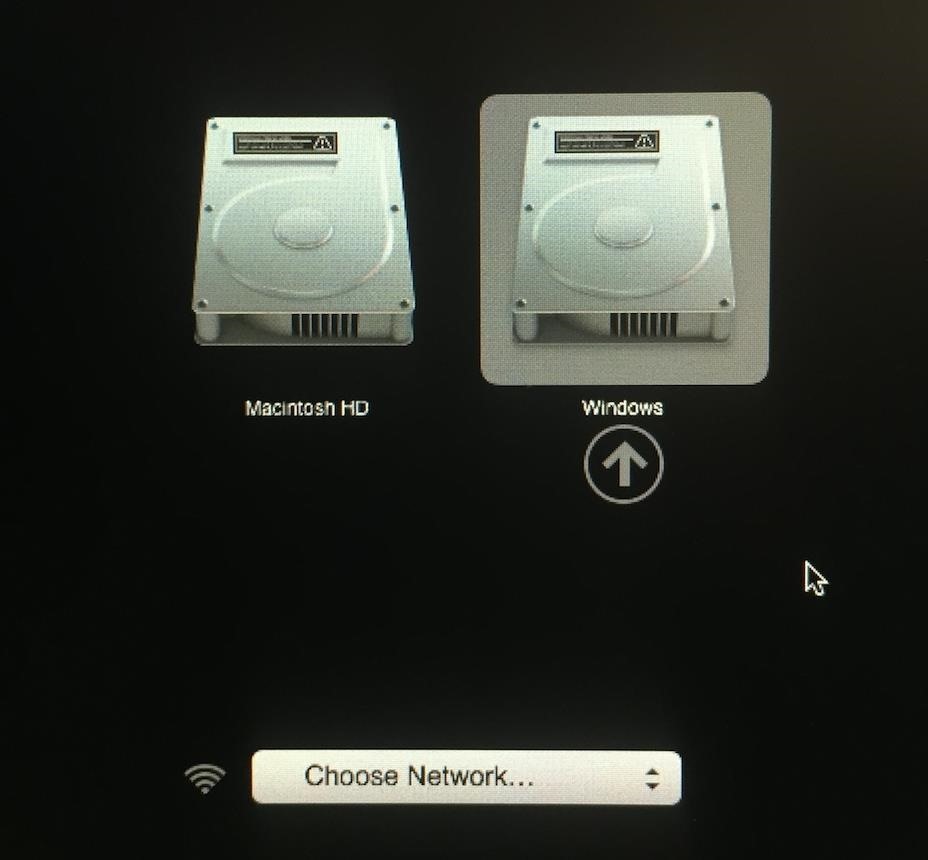
Whenever you want to switch between OS X and Windows, simply turn off your computer and hold down on the Option (Alt) key while booting it back up. This will bring up the Startup Manager, where you can select the partition you want to boot.
Troubleshooting Tips
One issue that I had while running Windows 10 on my Mac was that Wi-Fi wouldn't work. If you have that issue, you can either connect an Ethernet cable to connect to your network, or you can choose your Wi-Fi network from the Startup Manager when selecting the Windows 10 partition.
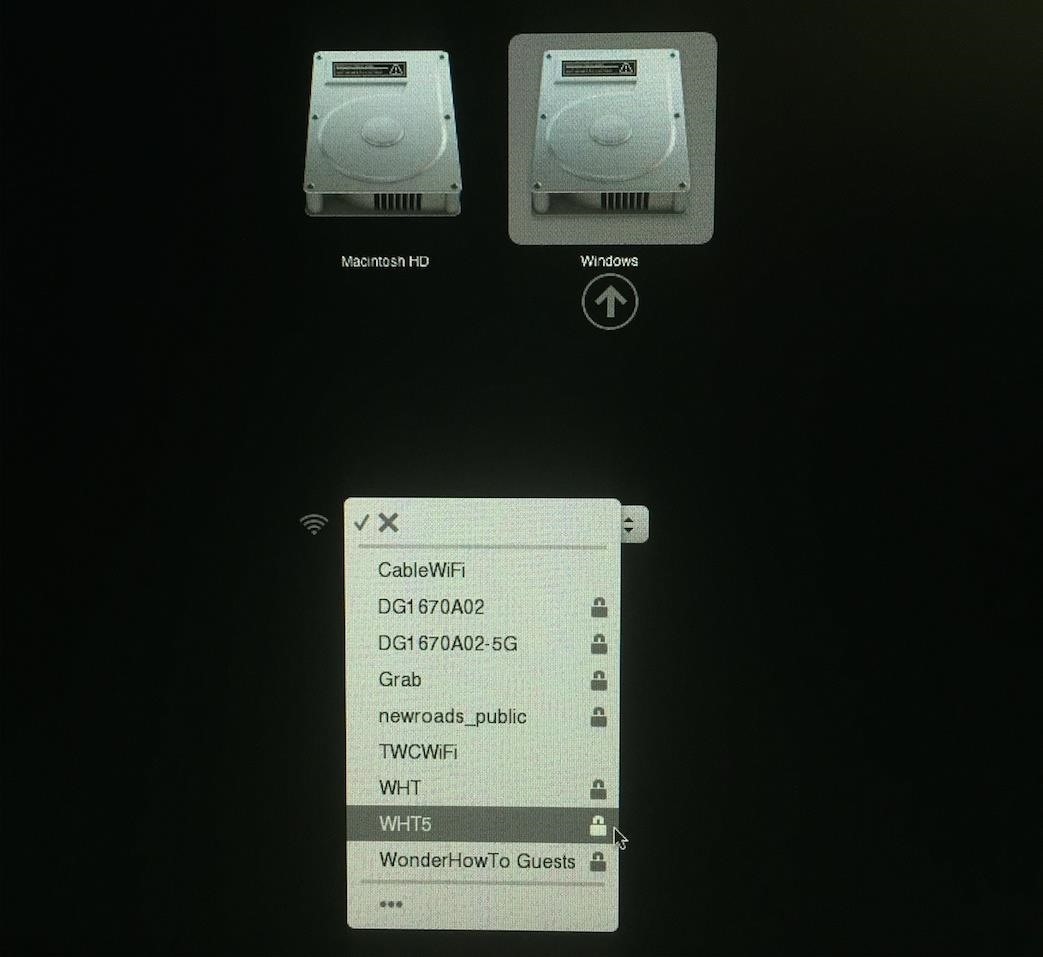
Once you open the Windows partition, your Wi-Fi will work.
Removing the Windows Partition
If you want to remove the Windows partition from your Mac for good, you can easily do so through Disk Utility. From the list on the right, select the top most hard drive (which should be called Macintosh HD) and click on the Partition option.
Select the partition from the layout (it will be the smaller "Untitled" one at the bottom, depending on how large you made it) and click on the minus sign (-) below it.

Click on "Remove" and your Windows partition will be deleted from your computer, as well as Windows 10 and anything else you had saved on it.

If any of you have trouble running Windows 10 on your Mac, don't hesitate to ask us for help in the comments below.
Follow Apple Hacks over on Facebook and Twitter, or Gadget Hacks over on Facebook, Google+, and Twitter, for more Apple tips.
Just updated your iPhone? You'll find new emoji, enhanced security, podcast transcripts, Apple Cash virtual numbers, and other useful features. There are even new additions hidden within Safari. Find out what's new and changed on your iPhone with the iOS 17.4 update.


1 Comment
Can anyone tell me if the steps outlined in this article (which was written for dual booting from Yosemite) works the same when dual booting from El Capitan?
Share Your Thoughts