

Getting things done isn't easy when you're bombarded with alert sounds and notifications all day long on your Mac. Here's how you can quickly remove those distractions with just a single click.
Step 1: Download the Automator Apps
This part is pretty easy. Just click here to download the apps.
Step 2: Learn How It Works
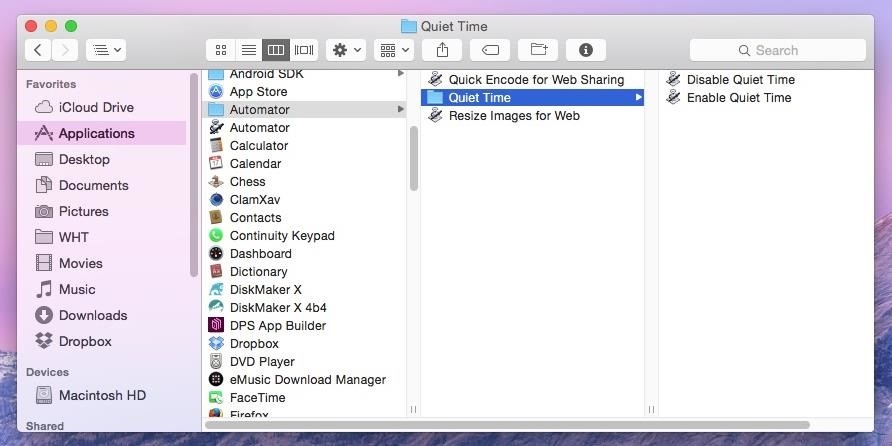
When you unzip the downloaded file, you'll notice that there are actually two Automator apps inside: Enable Quiet Hours and Disable Quiet Hours.
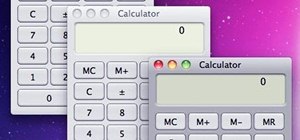
Running the enable app will mute your Mac's volume and turn on Do Not Disturb mode so you don't see any notifications. The disable app will reverse those settings (although the Notification Center icon in the menu bar may remain gray regardless).
Simply run the enable app when you want to focus on work and run the disable app when you can handle distractions again.
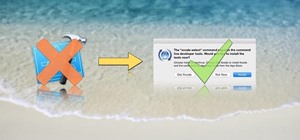
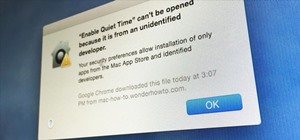
Note: If you have trouble running the app for the first time, your security settings for installing apps in Mac OS X probably blocked it, so make sure to change your Gatekeeper settings or allow a one-time exception.
Step 3: Schedule Your Quiet Hours (Optional)
If you want to take automation a step further, you can schedule quiet hours using Calendar—the built-in app that comes with your Mac. This is useful if you know you need to focus from 9:00 AM to 5:00 PM (for example) and don't want to bother remembering to disable distractions during that time.
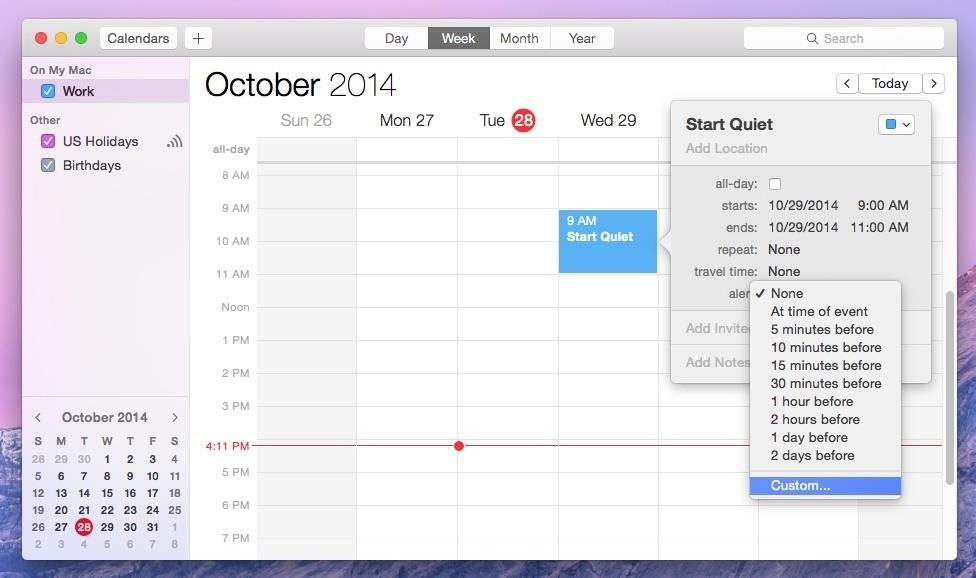
To do this, you need to open Calendar (found in the Applications folder on your Mac) and schedule an event at 9:00 AM (or whenever you want your quiet hours to begin). You can set any end time you like. Next, click the "alert" drop-down menu and choose "Custom..." from the options.
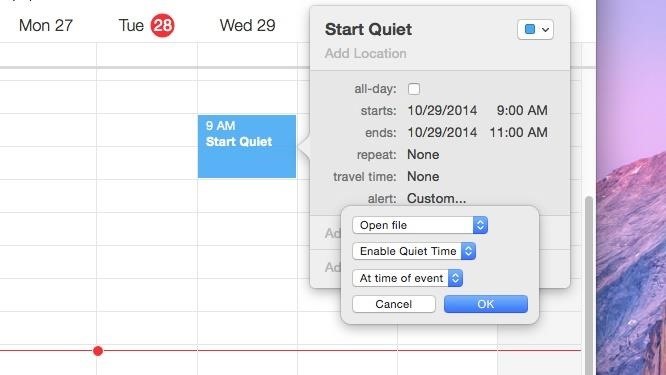
A small box will pop up with more choices. From the first drop-down menu, choose "Open file." This will let you select any file or application on your hard drive. You want to choose the Enable Quiet Hours app so it runs at 9:00 AM. Once you've set this up, make sure you set the run time to "At time of event" so quiet hours isn't run too early or too late. When you're finished, your event should look like this:
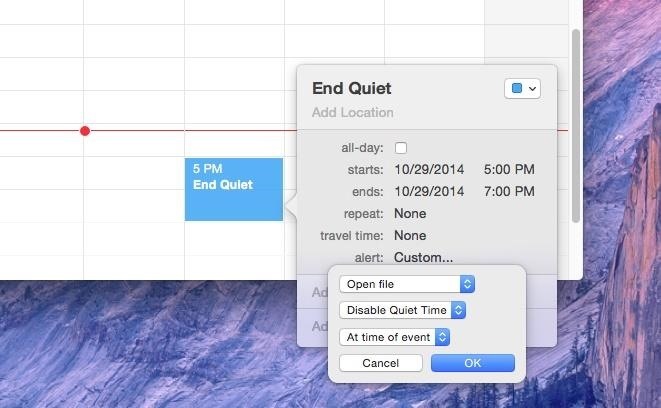
Click "OK" to accept your alert settings. If you want this action to repeat, make sure you edit the repeat settings on your event so that this alert happens every day, weekday, or whenever you prefer. When finished, click outside of the event window to dismiss it and repeat this process for the Disable Quiet Hours app (for the time you'd like quiet hours to end).
That's all you have to do. If things change, you can always edit your events in Calendar to schedule your distraction-free quiet hours for a different time.
Just updated your iPhone? You'll find new emoji, enhanced security, podcast transcripts, Apple Cash virtual numbers, and other useful features. There are even new additions hidden within Safari. Find out what's new and changed on your iPhone with the iOS 17.4 update.


1 Comment
geeenialne:)
Share Your Thoughts