

If you have a Mac, you've probably been anticipating the release of OS X Mountain Lion. If you have multiple Macs, you've probably been dreading the long process of downloading and installing it on all of them. Here's how to create a bootable backup disk and save yourself some time.
Before You Start
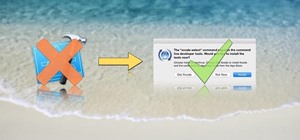
The obvious first step here is to download OS X Mountain Lion. But before you do anything else, a word of caution: once you've used the OS X installer, it will automatically delete the file you need to make the backup disk, so you'll want to either make a copy of the installer or create your disk before you upgrade.
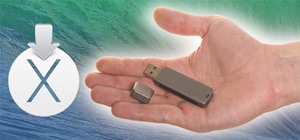
You can use a USB flash drive, external hard drive, or DVD-R disc, but the USB drive is quicker. If you're using a USB drive, it has to be formatted as "Mac OS Extended (Journaled)" and set to partition type "GUID Partition Table" in order to work.

You can find out more on how to do this here.
The Quick Way
If you want to make the process as painless and automated as possible, there's an app you can use called Lion Diskmaker.

Simply download the app and in a few clicks (and about 30 minutes) your disk will be finished. The app also works with OS X Lion.
The DIY Way
If you'd rather make the disk yourself, you can do it in a few simple steps.
Step 1:
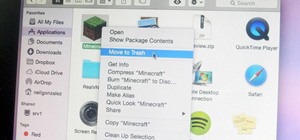
Open your Applications folder and right-click on "Install OS X Mountain Lion." Click on "Show Package Contents" and then find the folder called Shared Support.

Once inside, browse to the "Contents > SharedSupport" folder where there will be a file called "InstallESD.dmg." This is the image file that contains the information you need to create the backup disk.
Step 2:
Open Disk Utility (located in your Applications > Utilities folder).
Step 3:
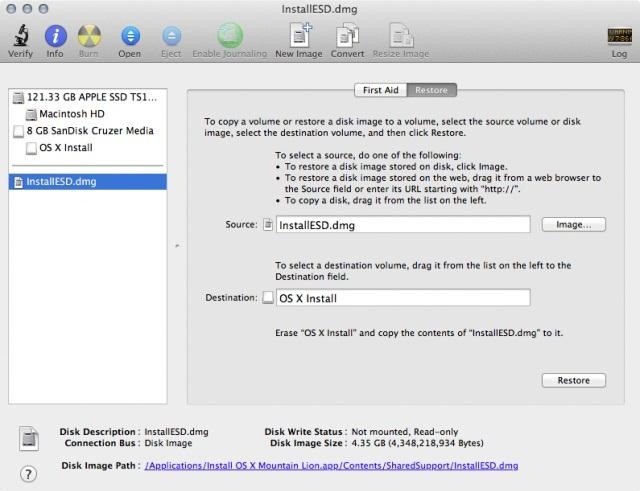
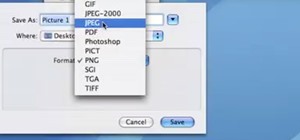
Drag and drop the "InstallESD.dmg" into the list of drives on the left and select it. This should make it appear in the Source box on the right. If not, you may have to click the "Restore" tab as seen below.
Step 4:
Drag your USB (or a Dual-Layer DVD) drive from the list on the left into the "Destination" box and click "Restore" (or just click the "Burn" button in the upper left if you're using a Dual-Layer DVD) and in 10-30 minutes (depending on whether you're using USB 2.0 or 3.0) you'll have your backup disk ready to instal on as many Macs as you like.
You're Done!
If you need help using your disk to restore your Mac, Apple has a helpful page in its Support section.
Just updated your iPhone? You'll find new emoji, enhanced security, podcast transcripts, Apple Cash virtual numbers, and other useful features. There are even new additions hidden within Safari. Find out what's new and changed on your iPhone with the iOS 17.4 update.


7 Comments
When following these instructions we got a persistent error message when restoring the boot image to the USB partition, "Restore Failure Could not restore – Invalid argument". However it appears that this has no effect on the restore, and the USB is usable afterwards.
Yes, you can ignore this error. We've seen it too on some Macs, but as you say, it still works just fine.
I tried booting in with my usb but it doesn't boot.
It just doesn't start the installer process.
To see all your bootable drives, hold down the Alt/Option key while your Mac is booting. Start holding it before you see the apple logo, and keep holding until you see the list of bootable drives. From that menu you can select the USB drive to boot from.
Well. That's great!
But I have the InstallESD.iso instead of InstallESD.dmg
How can I get this to work with the ISO file ?
I really need help ASAP.
Thanks :)
same
you can right click on your InstallESD.iso and check the informations, then type .dmg instead of .iso. then check the " use the .dmg " box that appears ( and vice versa if you need to)...
Share Your Thoughts